

Adding Students
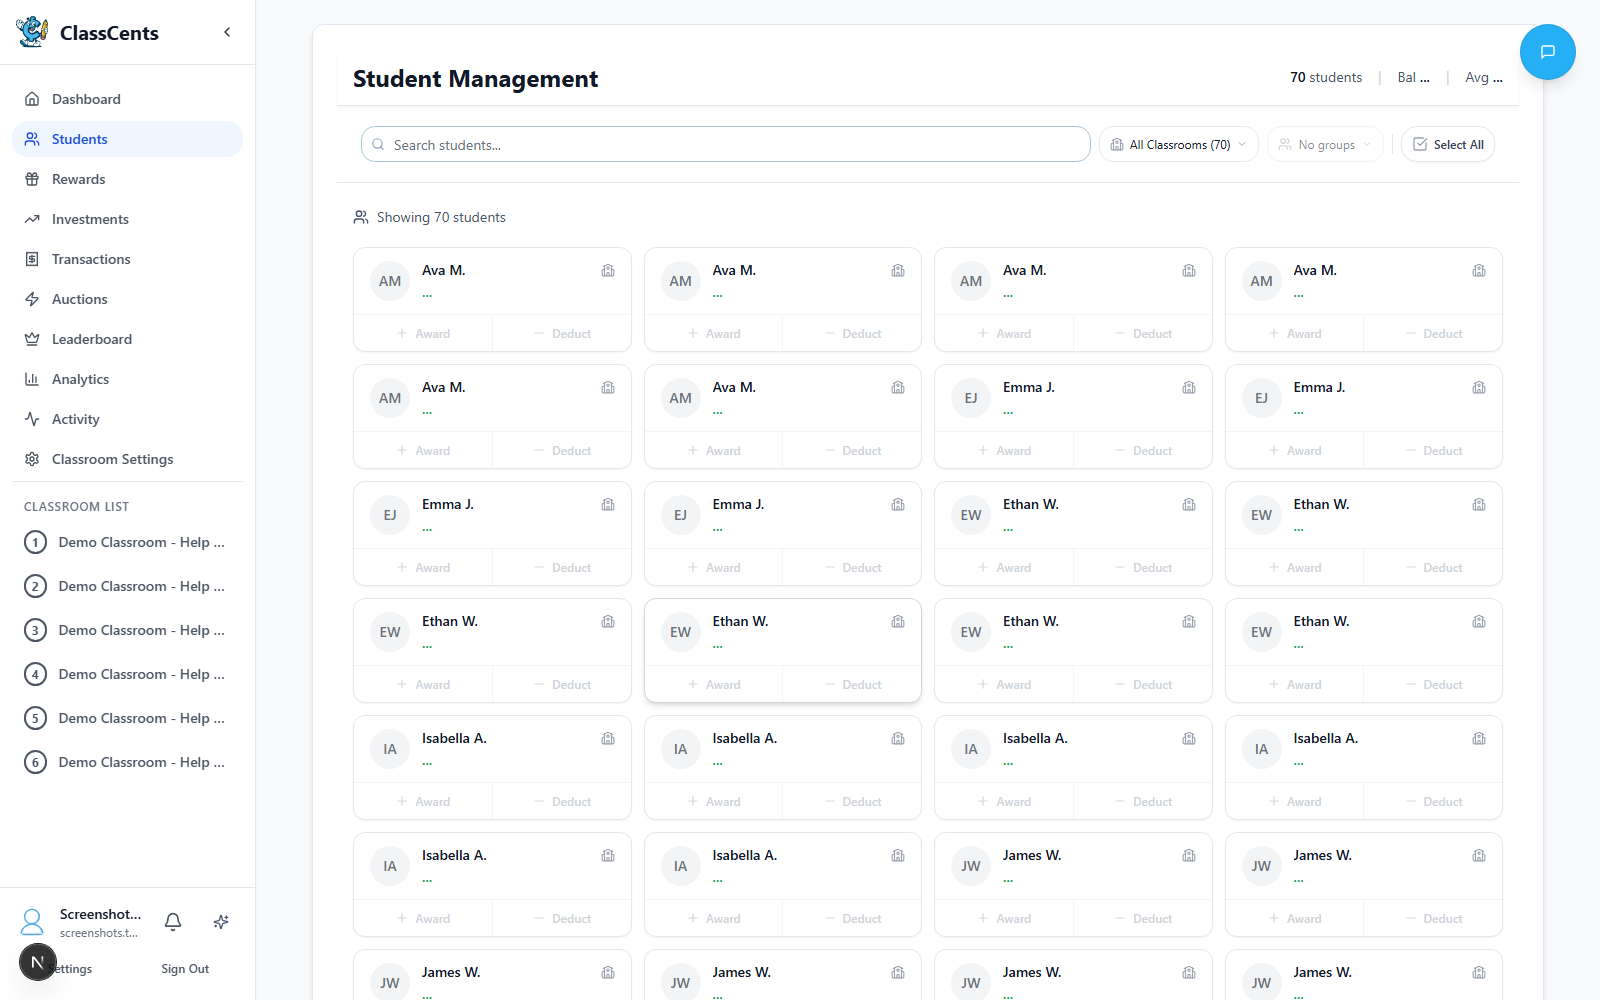
Individual Registration
The Add New Student dialog is a 3-step wizard.Step 2 — Customize
- Job (optional): Assign a paid classroom job from your job library
- Group (Pro feature, optional): Add the student to a group
- Avatar (optional): Upload an image or pick from the avatar library
New students automatically receive the Starting Balance configured on the classroom (if any). Starting balance is set when you create or edit the classroom — not on the per-student form.
Bulk Add
For adding entire class rosters quickly:Student Profile Information
Clicking a student opens their profile with tabs for everything tracked about them:- Overview
- Transactions
- Badges
- Jobs
- Investments
- Avatar & Name
- Current Balance
- Personal Goal: Optional goal amount with progress bar
- Quick action buttons for awarding or deducting points
- Recent activity summary
Students have a unique short nano ID used in their dashboard URL and QR code. You can regenerate or print these from the QR Codes page — see QR Code Login.
Managing Student Balances
Whole-Class Awards
Award every student in the classroom at once.Click Award All Students
The action toolbar at the top has an Award All Students button (Gift icon).
Pick an Amount and Reason
Use the Quick Amount buttons or type a custom amount, then choose a preset reason from the Academic / Social / Behavioral tabs or type Reason for Award manually.
Individual Awards & Deductions
Use Give Points or Quick Buttons
- Quick action buttons apply preset positive or negative amounts in one click (configured in Quick Buttons settings)
- Give Points opens a dialog with preset reasons (e.g., “Excellent participation”, “Helping classmates”) plus a Custom reason field and Amount
Automatic Earning
Students can earn automatically through:- Classroom Jobs: Scheduled payouts (learn more)
- Achievement Badges: Bonus points for milestones (learn more)
- Stock Market: Investment gains (learn more)
Student Groups & Organization
Pro feature — Student Groups are available on Classroom Pro plans.
Academic Groups
- Organize by ability level
- Differentiated rewards
- Targeted interventions
- Progress tracking by group
Behavioral Groups
- Different reward systems
- Behavior modification tracks
- Group incentives
- Social learning pods
Editing Student Information
Update Information
Modify any field:
- First and last name
- Avatar (upload or pick from library)
- Job assignment
- Group (Pro)
- Personal goal amount
Privacy & Security
Data Protection
Data Protection
- All student data is encrypted in transit and at rest
- Access restricted to authorized teachers only
- Regular security audits and compliance checks
FERPA Compliance
FERPA Compliance
ClassCents is designed with educational privacy laws in mind:
- Student data not shared with third parties
- Teachers control who can access classroom data
- Audit logs track all data access
Access Controls
Access Controls
- Students can only view their own data
- Teachers see only their classroom students
- Admin access limited to support requests
Data Retention
Data Retention
- Active classrooms retained indefinitely
- Archived classrooms preserved for academic year
- Manual deletion available on request
Removing Students
Related Topics
Transaction System
Learn how to award and track points
QR Code Access
Enable student dashboard access
Student Dashboard
Understand what students see and can do
Analytics
Track individual student progress